





How to Create a File List Widget Using Ninja Drive
The File List widget displays Google Drive files as a clean, organised table or list — with view and download buttons for each file. Ideal for resource pages, document libraries, or any page where visitors need to access a set of files.
Step 1: Open the Widget Builder
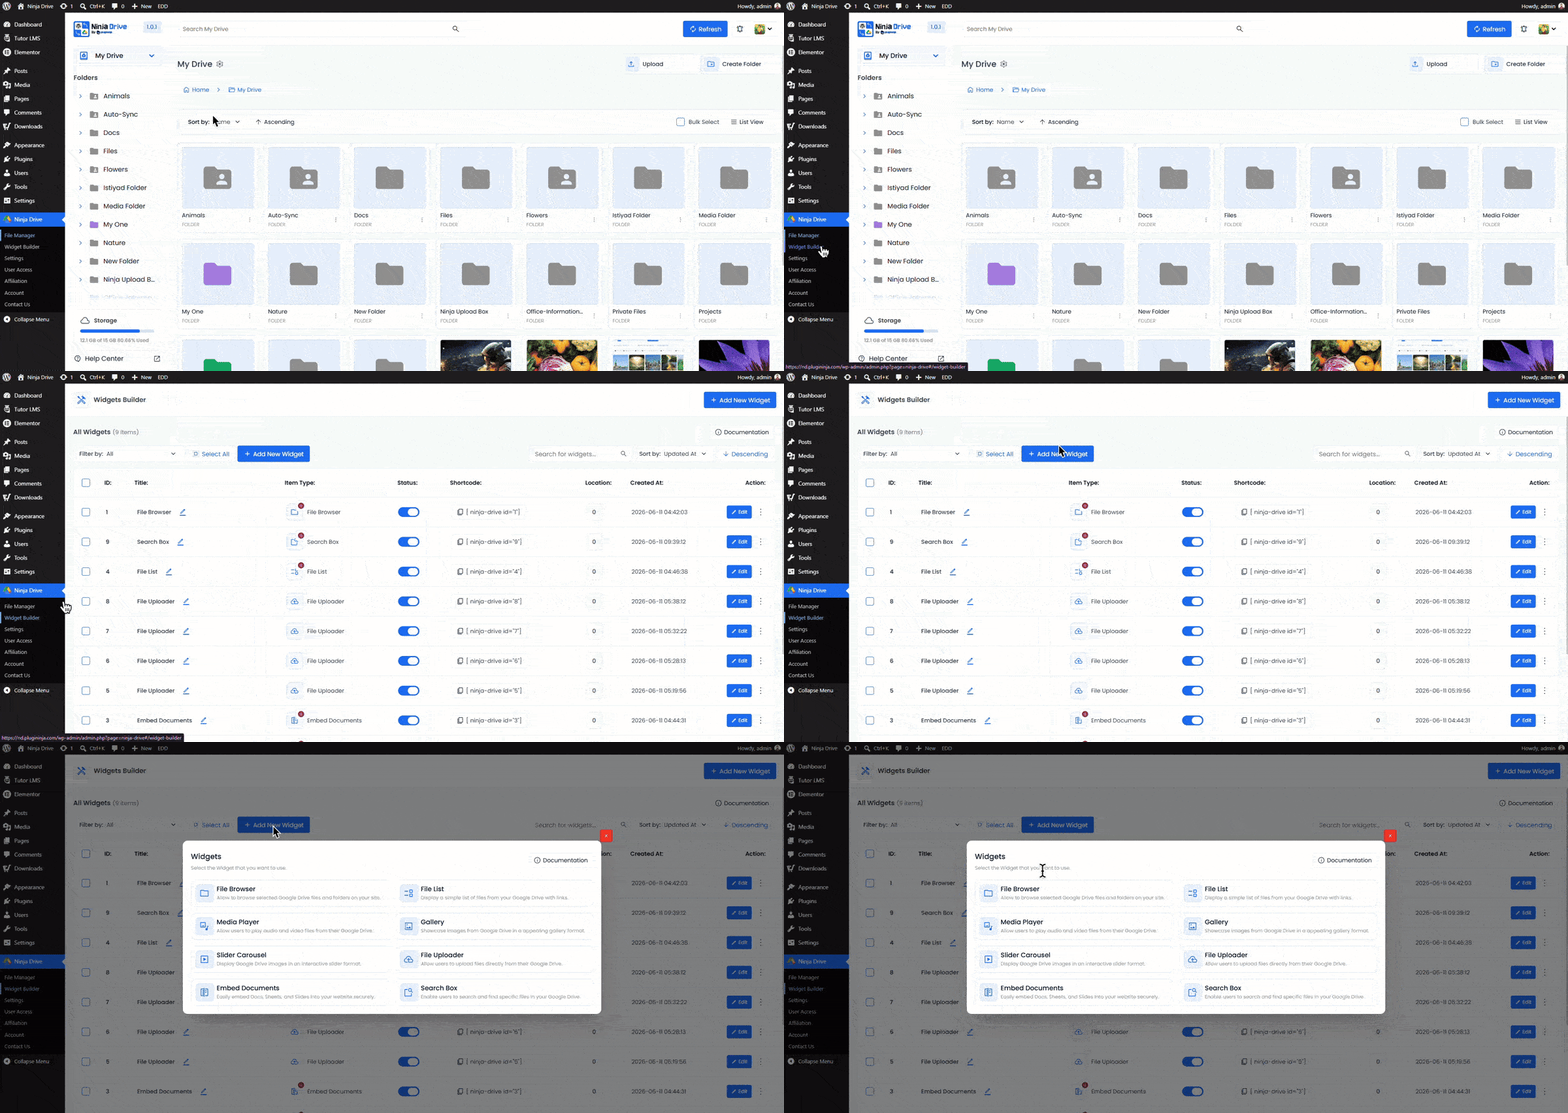
Go to Ninja Drive → Widget Builder in your WordPress dashboard.
Step 2: Add a New Widget and Select “File List”
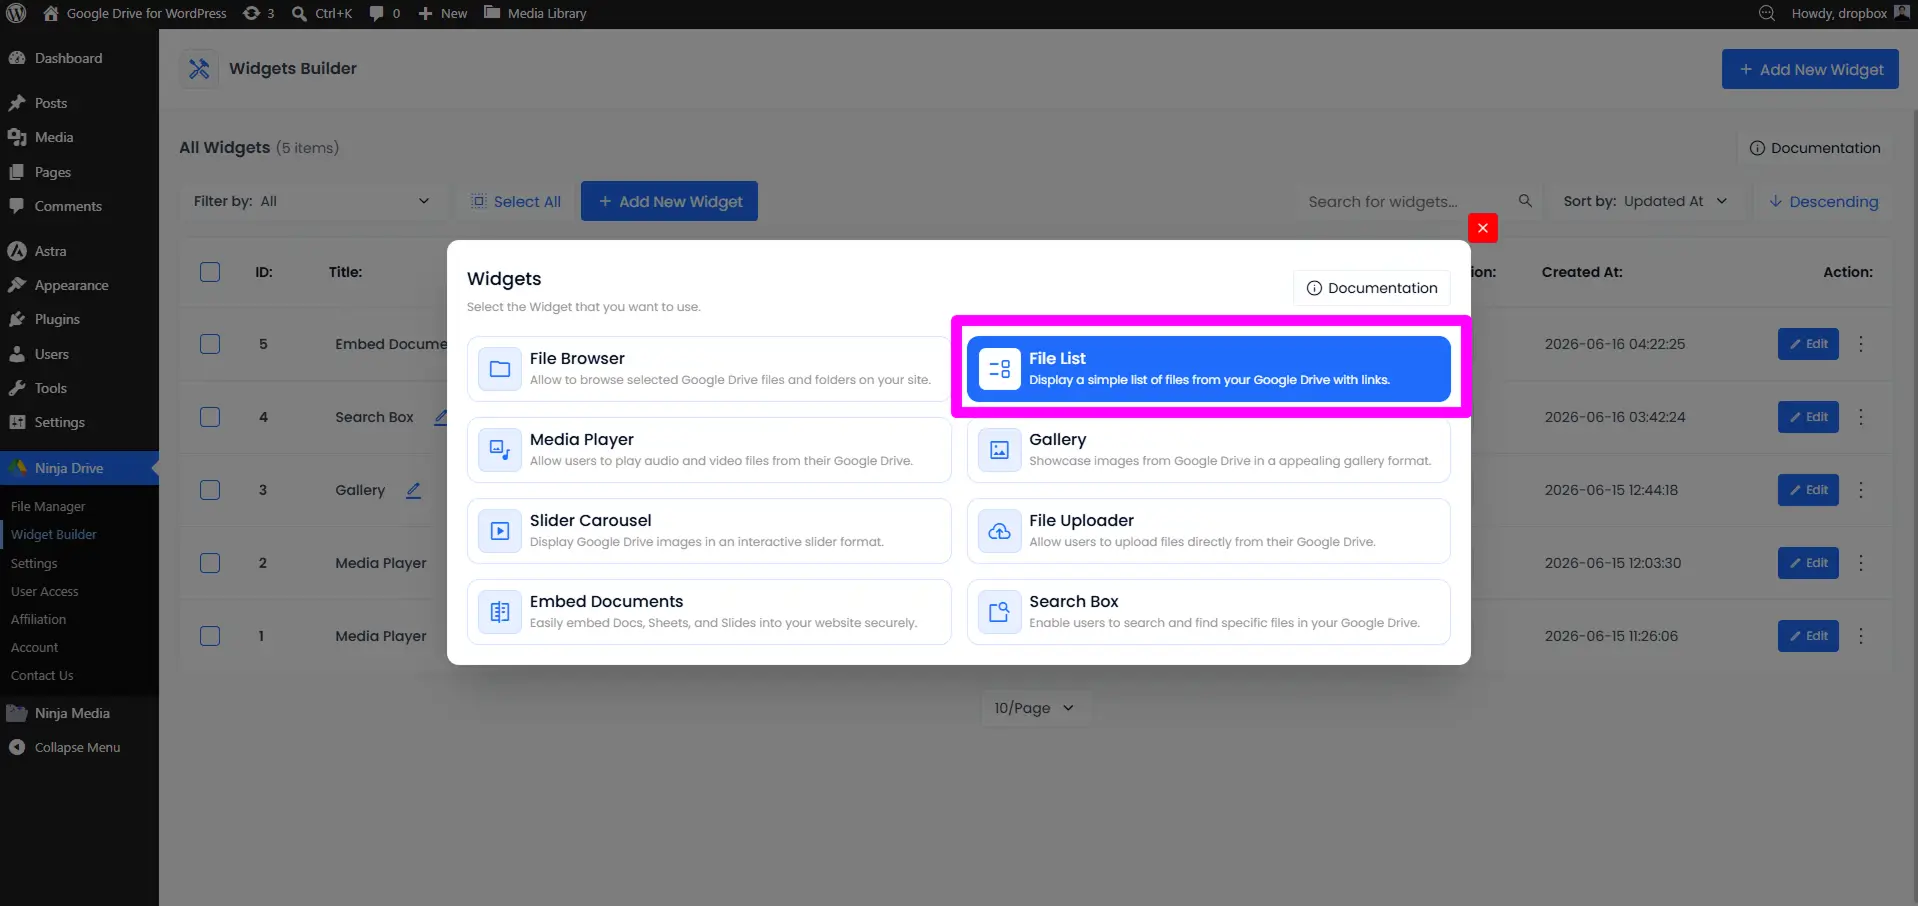
Click Add New Widget, then select File List from the widget type selector.
Step 3: Select Source From Google Drive
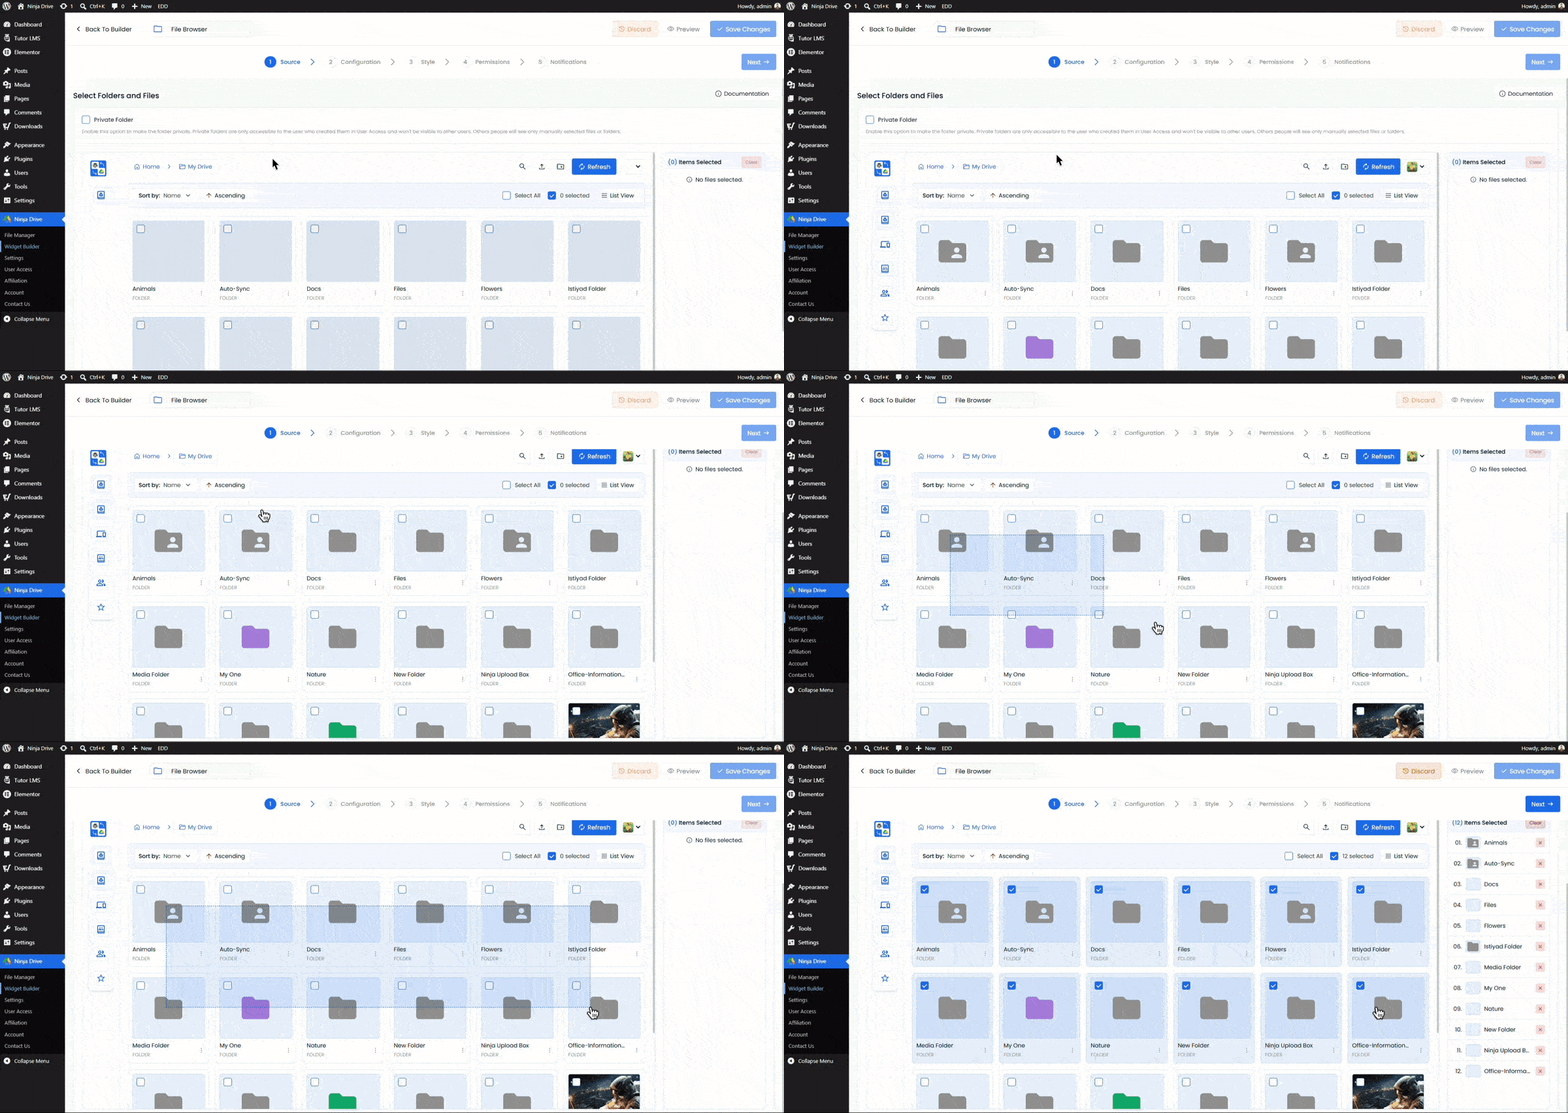
After selecting the File List, you will land in the source tab. From here, select the file & Folders that you want to show in the File List.
Step 4: Configure the File List Settings
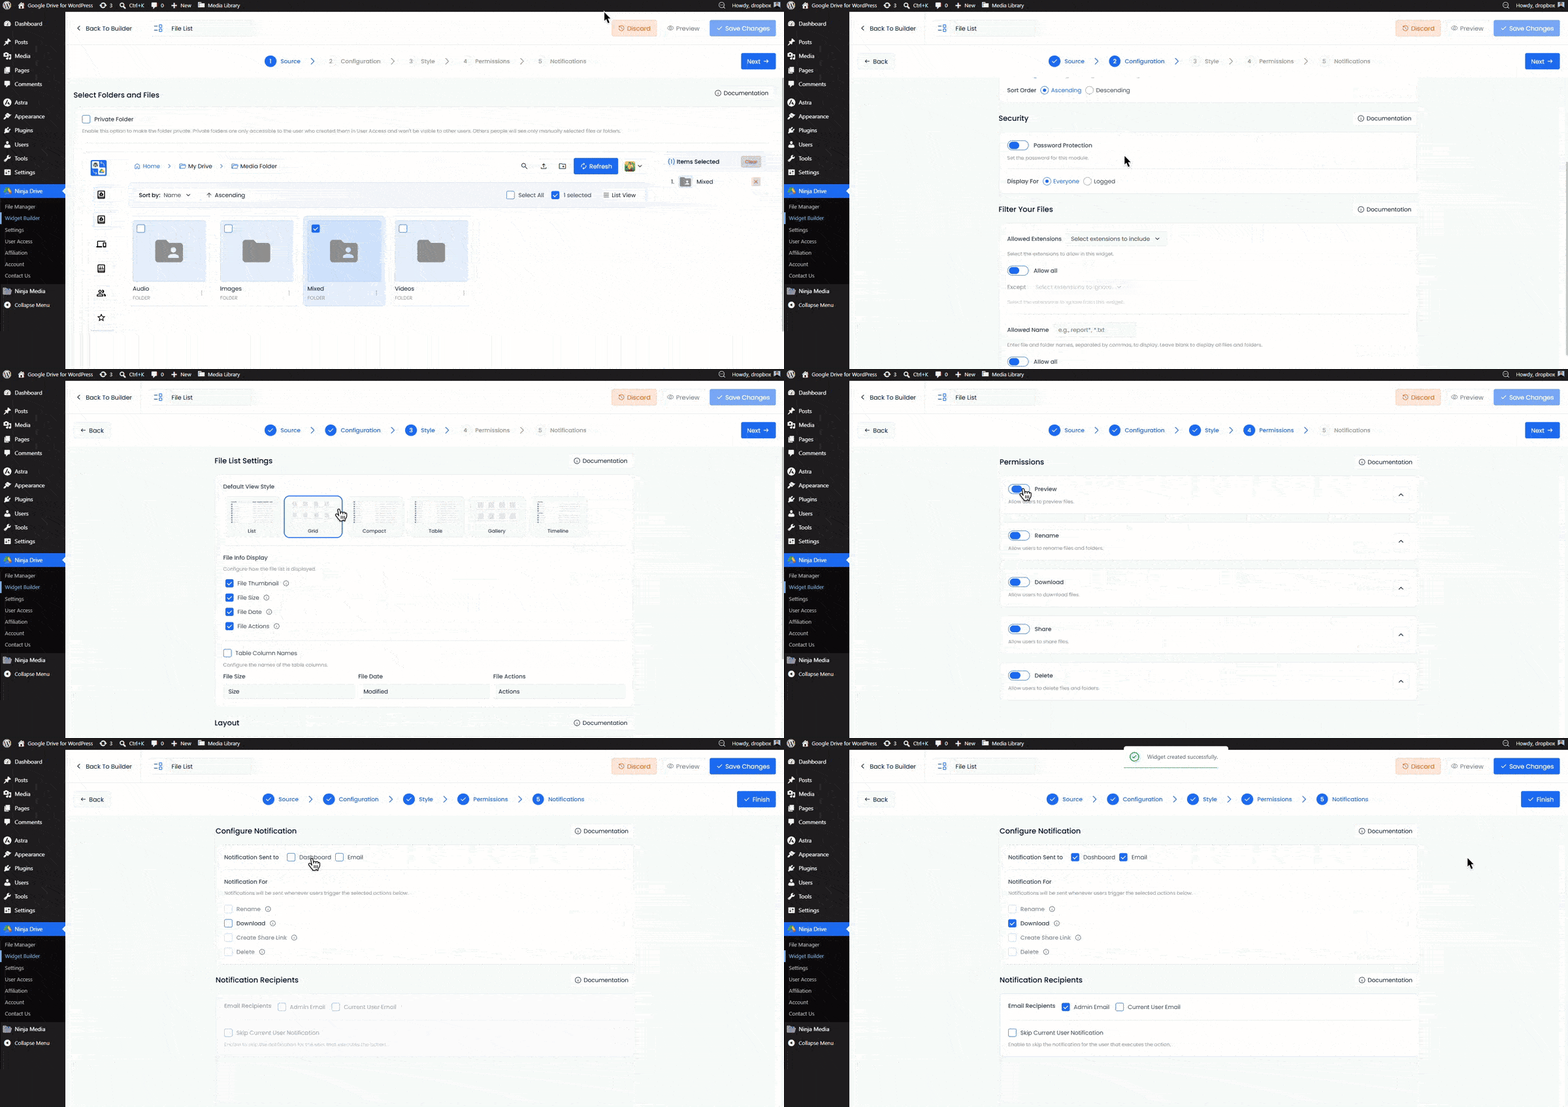
Configuration Tab
- Enable: Secure Video Playback.
- Automatic File Fetching: Turn on this option to fetch new files automatically
- Password Protection: Set any password for the widget.
- Filter Your File: You can filter all your selected files, which will show or which will not.
Style Tab
- Default View Style: Choose your preferred gallery style from Grid, List, Compact, Table, Gallery or Timeline.
- File Info Display: Configure how the file list is displayed.
- Table Column Names: You can change the column name to anything you want.
- Layout: Configure the gallery layout, including image dimensions and other display settings, such as the number of images to show on initial load.
Permission Tab
- Preview: Allow users to view your images in a lightbox.
- Rename: Allow users to rename files and folders.
- Download Files: Allow users to download files directly to their device.
- Share: Allow users to share files.
- Delete: Allow users to delete files if it’s enabled.
Notification Tab
Notification For: Notifications will be sent whenever users trigger the selected actions below.
Step 5: Save and Copy the Shortcode
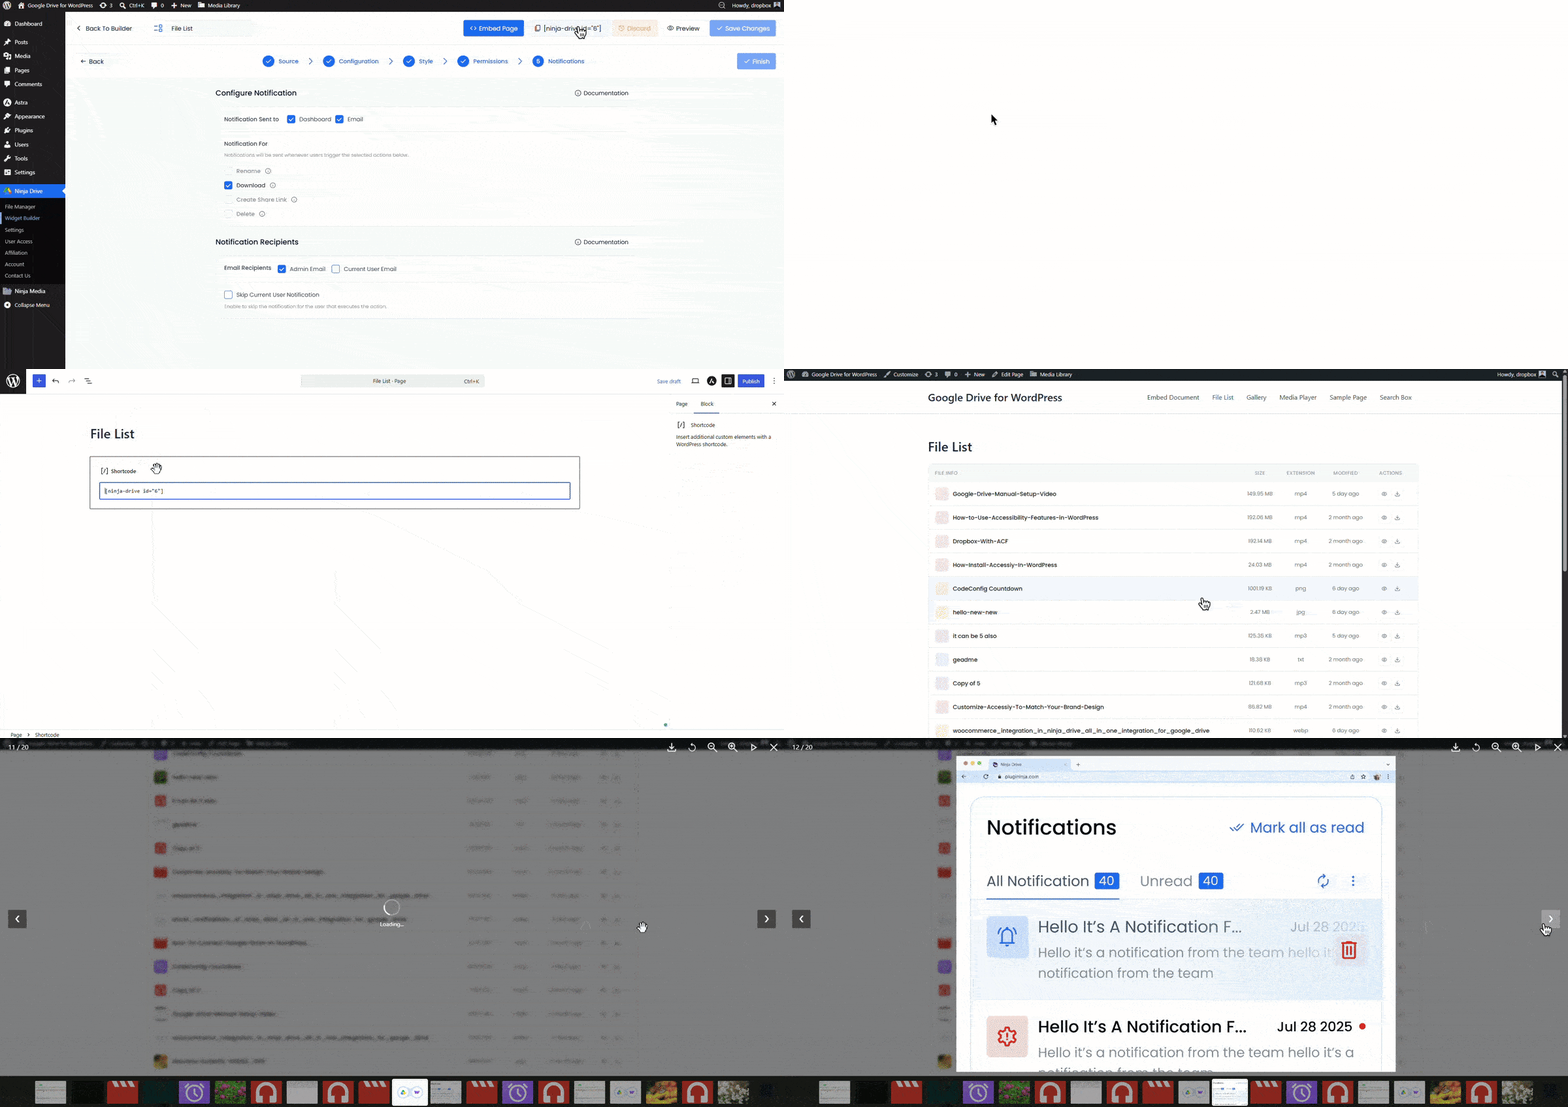
Click Save and copy the shortcode:
[ninja_drive id="*"]Step 6: Embed on a Page or Post
Paste the shortcode into any Gutenberg Shortcode block, Classic Editor text view, or Elementor Shortcode widget.

 Join Community